
Tuesday, September 1, 2026
All guides
Troubleshooting guide Updates

How to Set Up a WordPress Staging Site (and Actually Use It)

A staging site is a private copy of your live site where updates can break things safely. Here is how I set one up on cPanel hosting, managed hosting and with a plugin, plus the push-to-live rules that stop staging from causing its own outage.
GrowrAI Editorial Team Published September 1, 2026 Last reviewed September 1, 2026 12 min read Step-by-step walkthrough
Reviewed and tested by the GrowrAI team on a real WordPress install before publishing. How we test fixes
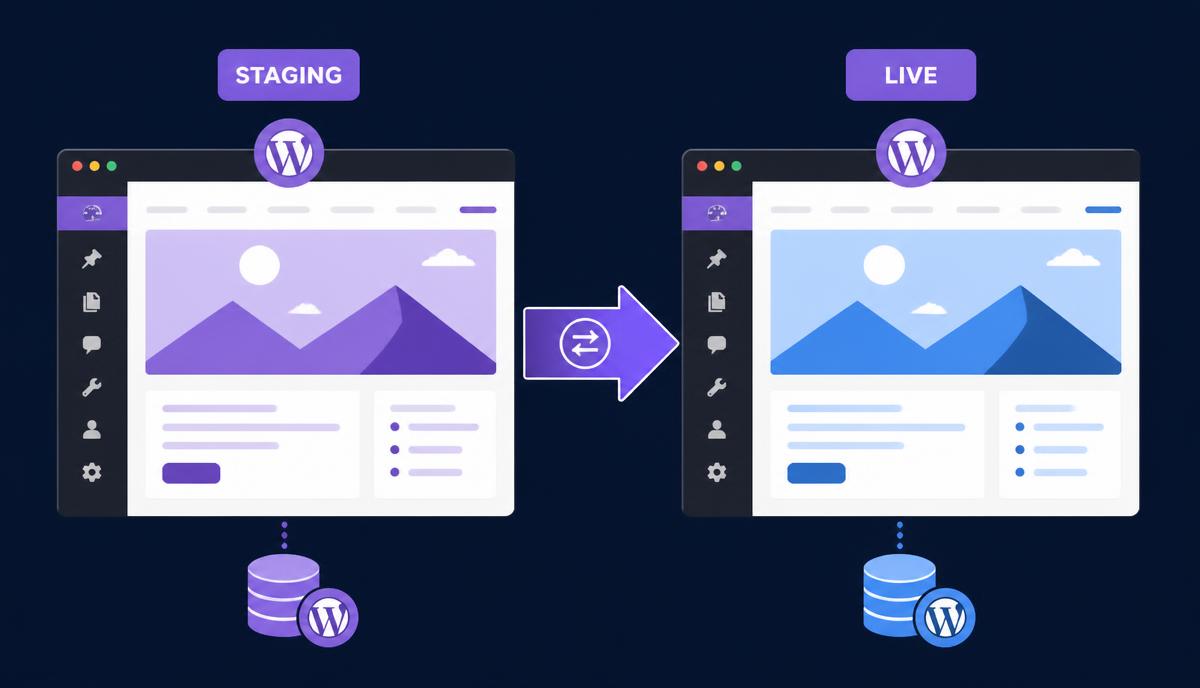
WordPress staging site and live site shown side by side with changes pushed from staging to live

What's Happening

Most of the sites I get called in to rescue broke during a routine update. Someone clicked Update All on a Friday afternoon, a plugin threw a fatal error, and the site went white in front of real customers. None of those calls need to happen. A staging site is a private copy of your WordPress install, on the same server or a subdomain, where you can run the same update, watch it fail, and fix it while the live site keeps taking orders. Setting one up takes about ten minutes. Using it properly, which is the part almost nobody explains, takes a little more thought, because pushing the wrong half of a staging site back to live can cause more damage than the update you were testing.

Complete Fix Checklist

  1. 1Decide what you are testing. A theme or plugin update needs a full copy. A CSS tweak can be done with a child theme and the Customiser preview instead.
  2. 2Check your host first. Kinsta, WP Engine, SiteGround, Cloudways, Hostinger and most cPanel hosts with WordPress Toolkit already include one-click staging, so there is nothing to install.
  3. 3On cPanel, open WordPress Toolkit, pick your install, click Clone, and let it create a staging subdomain such as staging.yoursite.com.
  4. 4On a host with no staging feature, install WP Staging or Duplicator, run the clone, and let it finish before you close the tab.
  5. 5Block search engines on the copy. Settings > Reading > Discourage search engines, plus HTTP password protection on the subdomain if your host offers it.
  6. 6Confirm the clone is real: log in, check that recent posts, media, users and plugin settings are all there, and load two or three templated pages.
  7. 7Run the update on staging, then walk the site the way a visitor would. Home page, a product or post, the cart or contact form, and wp-admin itself.
  8. 8Read the debug log on staging before you push anything. Enable WP_DEBUG_LOG there permanently, since nobody is watching that copy.
  9. 9Push back in the right direction. Files only when you changed code or updated plugins. Database only when you changed settings or content. Never both by reflex.
  10. 10Take a live backup immediately before every push, and load the live site in a private window right after.

Quick Tips

  • Staging is only a safety net if the copy matches live: same PHP version, same plugins, same theme version
  • Pushing the staging database to a live shop wipes every order, comment and signup created since you cloned
  • Always noindex the staging copy, an indexed staging site competes with your real pages in search
  • Delete or refresh old staging copies, a six month old clone with outdated plugins is a security liability
  • Managed hosts already give you staging on most plans, check before you install a plugin that does the same job

Frequently Asked Questions

What is a WordPress staging site?
It is a private duplicate of your live site, running the same WordPress files, database, theme and plugins on a separate URL, usually a subdomain like staging.yoursite.com or a subfolder your host creates. Visitors cannot find it and search engines are told to ignore it. Because it is a full copy rather than a fresh install, anything you break there breaks in exactly the way it would break on the real site, which is the whole point. You get to watch the failure happen with nobody looking, fix it, and only then repeat the change on live.
How do I create a staging site in WordPress?
Check your hosting panel first, because you probably already have the feature. On cPanel hosts running WordPress Toolkit, open the toolkit, select your install and click Clone. On SiteGround it is Site Tools > WordPress > Staging. On Kinsta and WP Engine it is a Create Environment button in their dashboards. If your host has none of this, install WP Staging or Duplicator from the WordPress plugin directory and run the clone from inside wp-admin. Either route ends the same way: a second copy of the site on its own URL, with its own database, that you log into with your existing credentials.
Is a staging site free?
Usually yes. Every managed WordPress host I work with includes at least one staging environment in the plan price, and cPanel hosts include cloning through WordPress Toolkit at no extra cost. The free version of WP Staging clones the whole site to a subfolder, which covers most people. You start paying when you want features like pushing changes back to live automatically, multiple simultaneous environments, or cloning to a separate server, which is where the paid tiers of WP Staging and Duplicator sit. For testing a plugin update before Friday, the free path is enough.
Will a staging site hurt my SEO or create duplicate content?
It can if you leave it open, which is the mistake I see most often. An unprotected staging subdomain gets crawled, indexed, and starts competing with the pages you actually want ranked. Two things prevent it. Turn on Settings > Reading > Discourage search engines on the copy, which adds a noindex header, and add HTTP authentication to the subdomain in your hosting panel so the copy needs a password before it loads at all. If a staging URL has already been indexed, request removal in Search Console and then lock it down, since removal alone will not stop it coming back.
How do I push staging changes to my live site safely?
Decide first whether your change lives in files or in the database, because pushing the wrong one is where staging goes wrong. Plugin updates, theme updates and code edits are files. Settings, menus, widgets, posts and WooCommerce products are database. If you only updated plugins, push files and leave the live database alone, so the orders and comments that arrived while you were testing survive. If you rebuilt settings on staging and live has had no new activity, a database push is fine. On a busy store, the safer pattern is to skip the push entirely and repeat the change on live by hand once you know it works.
Does staging protect me from a plugin update breaking my site?
It protects you from being surprised by it. If the update throws a fatal error, it throws it on the copy, you read the error in the staging debug log, and you decide what to do with the live site still running normally. Sometimes the answer is to update anyway because the error came from a conflict you can fix in two minutes. Sometimes it is to hold the update and email the plugin author. What staging cannot do is guarantee identical behaviour, because live traffic, caching layers and real user data create conditions a quiet copy does not have. Keep a fresh backup even after a clean staging test.
Why does my staging site look broken or show the wrong URLs?
Almost always because the URLs in the database still point at the live domain. A proper clone tool rewrites wp_options and the serialised data inside post content, but a manual copy or an interrupted clone often leaves half of it behind, so images load from live, links jump back to the real site, and logins redirect away. Fix it with the Better Search Replace plugin, running a dry run first, replacing the live domain with the staging domain across all tables with serialisation handling enabled. Also clear any caching plugin on the copy, since cached HTML holds the old URLs too.
How often should I delete and recreate my staging site?
Recreate it before each significant change rather than keeping one copy around for months. A stale clone drifts away from live as posts, orders and settings change, so a test on it stops meaning anything, and it quietly becomes an unpatched WordPress install sitting on your account waiting to be found. My habit is simple: clone, test, push or discard, delete. If your host only allows one staging environment, refresh it from live at the start of every maintenance session so you are always testing against the current state of the real site.

Sources and Further Reading

More guides in this area: Updates troubleshooting hub